Welcome, dear reader! In this article, we’re diving into the warm and inviting world of cinnamon rolls. We’ll cover everything from what these delightful treats are, their fascinating history, and the secrets behind creating the perfect batch in your own kitchen. Moreover, you’ll discover handy tips, variations, and expert advice that make this guide a must-read for both beginners and seasoned bakers. So, get ready to embark on a tasty journey where tradition meets innovation!
Introduction to Cinnamon Rolls
What Are Cinnamon Rolls?
Cinnamon rolls are more than just a baked good—they’re a heartwarming treat that brings comfort and joy with every bite. At their core, these sweet, spiced rolls consist of a soft, buttery dough rolled with a rich cinnamon-sugar filling, then baked to golden perfection. First, imagine biting into a warm, freshly baked roll that exudes the inviting aroma of cinnamon and butter. Next, consider how each roll melts in your mouth, offering a perfect balance between the sweet dough and the spicy, gooey center. Moreover, making your own cinnamon rolls at home gives you the freedom to experiment with textures and flavors, ensuring every batch is a personal masterpiece.
“Baking cinnamon rolls is like wrapping yourself in a warm hug on a chilly morning.”
The History and Rise in Popularity of Cinnamon Rolls
Historically, cinnamon rolls have traveled a long way, evolving from simple European pastries to beloved treats worldwide. Initially, these rolls were a staple in bakeries across Europe, cherished for their humble ingredients and delightful flavor. Then, as time went by, innovative bakers refined the traditional recipe, introducing elements like cream cheese frosting and unique spice blends. Furthermore, the modern twist of Cinnabon style cinnamon rolls has propelled them into mainstream popularity, especially with social media influencers showcasing their mouthwatering creations. Additionally, the allure of freshly baked, homemade cinnamon rolls continues to grow, thanks to their timeless appeal and the sense of nostalgia they evoke. Overall, the journey of these rolls from a modest bakery item to a global phenomenon highlights not only their delicious taste but also the shared joy of baking and savoring sweet treats.
Essential Ingredients and Equipment for Cinnamon Rolls
Must-Have Ingredients for Cinnamon Rolls
Here’s a quick list of ingredients for cinnamon rolls:
- 2 1/4 tsp active dry yeast
- 1 cup warm milk (about 110°F)
- 1/3 cup granulated sugar
- 1/2 cup unsalted butter, melted
- 2 large eggs
- 4 cups all-purpose flour
- 1/2 tsp salt
- 2-3 tsp ground cinnamon
- 1 cup brown sugar (for filling)
- Optional: 1 tsp vanilla extract
- For glaze (optional): 4 oz cream cheese, 1/4 cup unsalted butter, 1-1/2 cups powdered sugar, 1/2 tsp vanilla extract, 1-2 tbsp milk
First, every great batch of cinnamon rolls begins with the right ingredients. You’ll need yeast, which is key for a soft, fluffy dough. Next, make sure you use good-quality all-purpose flour to create the perfect structure. Additionally, a mix of granulated sugar and brown sugar is vital as these add both sweetness and moisture. Moreover, butter—preferably unsalted—is essential, because it gives the dough its rich flavor and tender texture. Furthermore, you should have eggs on hand, which help bind the dough together and add a subtle richness. Also, don’t forget cinnamon, the star spice that fills the rolls with its warm, aromatic flavor, and a pinch of salt to balance everything out.
In addition to the basics, you might add vanilla extract to enhance the overall taste, and a splash of milk to ensure the dough is soft and pliable. Finally, if you like a little extra flair, consider including cream cheese or heavy cream in the glaze. These ingredients work together to create that irresistible flavor and texture that makes cinnamon rolls so beloved.
Tools and Equipment Needed for Cinnamon Rolls
Next, to make your cinnamon rolls just right, you will also need the proper tools. First, a large mixing bowl or a stand mixer is necessary to blend your ingredients thoroughly. Then, a rolling pin is essential for flattening the dough evenly. Moreover, you will need a baking tray or a casserole dish to place your rolls during the final rise and baking stage.
Additionally, using measuring cups and spoons is important to ensure that every ingredient is added in the right amount. Furthermore, a clean kitchen towel or plastic wrap will help cover the dough as it rises, keeping it in a warm, draft-free environment. Also, a sharp knife or a pizza cutter is handy for slicing the rolls evenly once the dough is filled.
Moreover, if you want to make the process even smoother, a pastry brush can be used to apply an egg wash before baking, which gives your cinnamon rolls a beautiful golden crust. Finally, having a cooling rack ready allows the rolls to cool properly, locking in flavor and texture.
For more delicious recipes and baking tips, feel free to check out our recipe articles on the website.
Step-by-Step Preparation Process
Preparing the Dough for Cinnamon Rolls

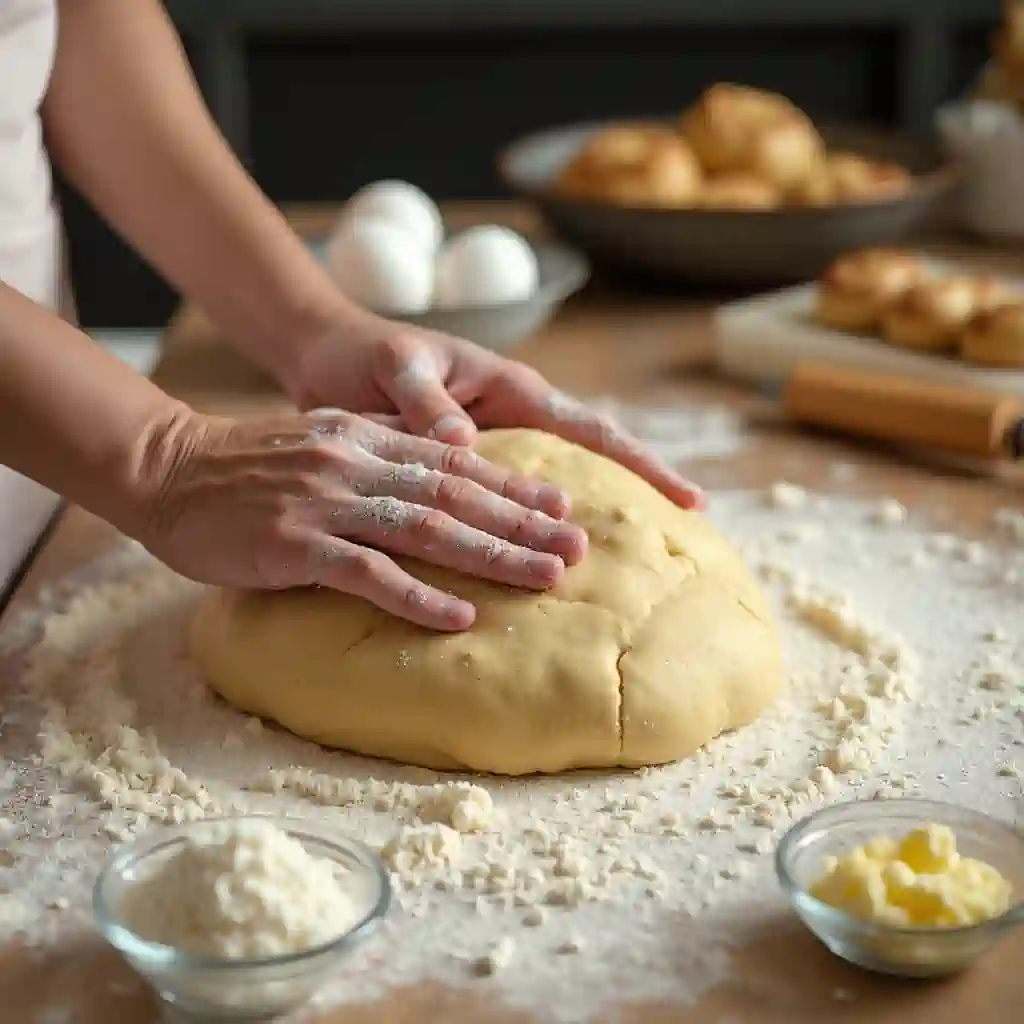
First, begin by warming your milk to a lukewarm temperature—this helps activate the yeast. Then, in a large bowl, dissolve the yeast in the warm milk along with a little bit of sugar; this step is crucial for a strong rise. Once the yeast starts to froth, slowly add the melted butter, eggs, and the rest of the sugar, mixing continuously. Next, incorporate the flour and salt gradually into the wet mixture, stirring until a dough begins to form. At this point, it’s best to knead the dough either by hand or with a stand mixer fitted with a dough hook.
As you knead, keep the process gentle yet consistent; this helps develop the gluten, which in turn gives your cinnamon rolls a chewy, yet tender texture. Moreover, after kneading, cover the dough with a clean towel or plastic wrap and let it rise in a warm, draft-free spot. Typically, this first proofing takes about one to two hours until the dough has doubled in size. Additionally, during this time, the flavors will meld, creating a rich base for your cinnamon rolls.
Rolling, Filling, and Shaping Your Cinnamon Rolls
Once the dough has risen, gently punch it down to release any air bubbles, and transfer it to a lightly floured surface. First, roll out the dough into a large rectangle. Then, evenly spread a generous layer of softened butter across the surface. Next, sprinkle a mixture of cinnamon and brown sugar over the butter; this is what gives cinnamon rolls their signature sweet and spicy flavor. Additionally, for an extra burst of flavor, you may add a pinch of nutmeg or even a little vanilla powder at this stage.
After that, carefully roll the dough from the longer side into a tight log, ensuring that the filling stays evenly distributed. Once the dough is rolled, use a sharp knife or pizza cutter to slice it into even pieces—each slice will become an individual roll. Then, arrange the slices in a greased baking tray, leaving enough space between each so they can expand as they rise. At this point, cover the tray loosely with plastic wrap or a towel, and let the rolls proof for another 30 to 45 minutes. This second rise is vital, as it makes the cinnamon rolls extra soft and fluffy.
Moreover, while the rolls are proofing, preheat your oven to the proper temperature, usually around 350°F (175°C). When ready, bake the rolls for about 20 to 25 minutes until they are lightly golden on top. Finally, remove the rolls from the oven and let them cool slightly before glazing. By following these careful steps, your cinnamon rolls will turn out beautifully soft on the inside and delightfully crisp on the edges, making every bite a treat.
For more detailed guides on baking techniques, you might explore our other recipe articles on the website.
Baking, Glazing, and Finishing Techniques (400 words)
Baking Cinnamon Rolls to Perfection

First, preheat your oven to 350°F (175°C) to ensure even baking. Next, arrange your proofed dough slices on a greased baking tray, making sure to leave enough space between them so they can expand properly. As the oven heats, lightly cover the rolls with a clean kitchen towel; this step helps maintain moisture and warmth, which is essential for soft cinnamon rolls. Moreover, once the rolls are in the oven, bake them for about 20 to 25 minutes. During this time, you will notice the edges turning a warm golden brown while the centers remain tender. Additionally, check on them a few times to ensure they do not overbake, since every oven varies in heat distribution.
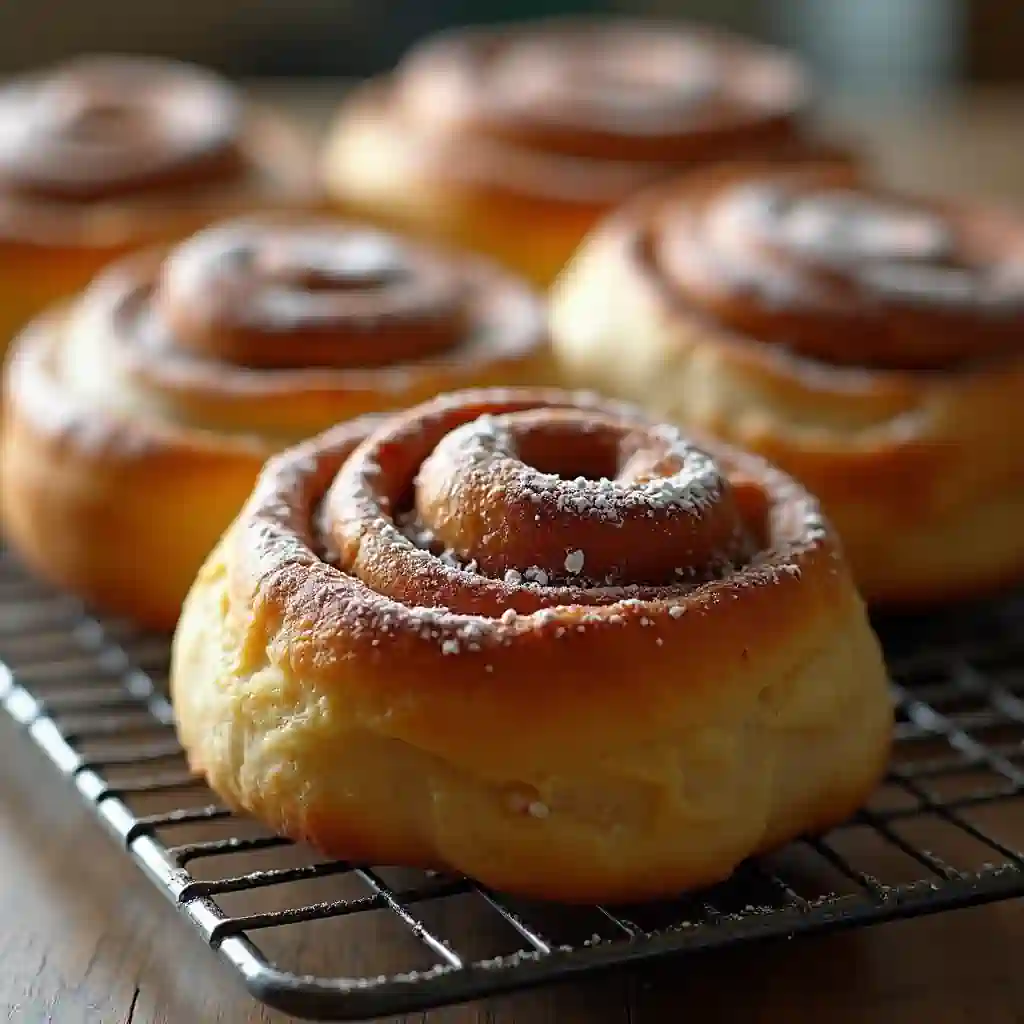
Then, when the rolls are done, remove them promptly from the oven and place them on a cooling rack. This cooling step is crucial because it allows the residual heat to settle the dough and further enhance the texture. Also, allow the rolls to cool slightly before applying any glaze. In short, these simple steps—preheating, spacing, baking, and cooling—guarantee that your cinnamon rolls turn out both soft on the inside and lightly crisp on the edges.
Glazing and Decorating Cinnamon Rolls
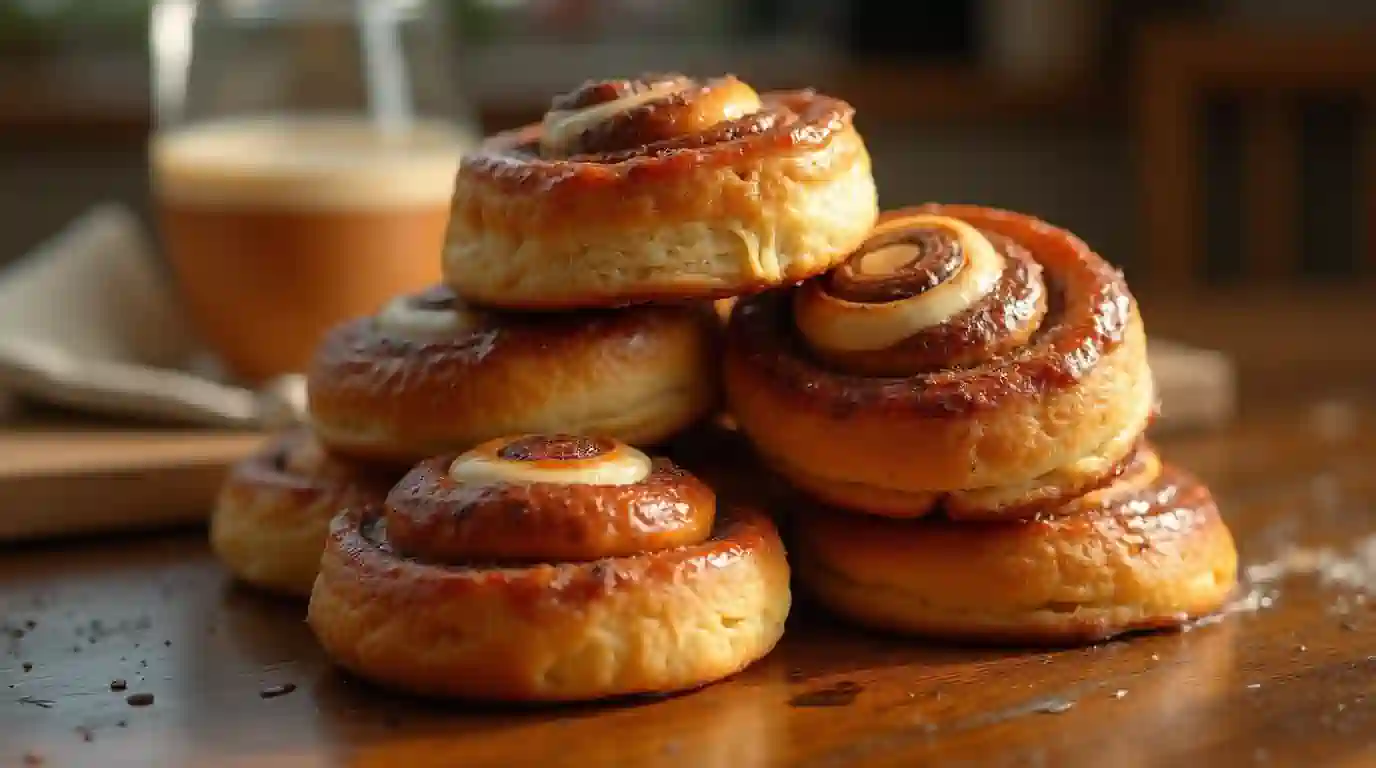
Now, while your rolls are cooling, prepare a rich glaze to dress them up. First, mix powdered sugar with a little milk or heavy cream and vanilla extract until you reach a smooth, pourable consistency. Then, using a spoon or a pastry brush, drizzle the glaze generously over the warm rolls; doing so ensures the glaze melts into the crevices, adding extra flavor. Moreover, you can add a sprinkle of cinnamon or finely chopped nuts on top for added texture and visual appeal.
Furthermore, if you’re in the mood for creativity, try experimenting with different glaze flavors such as cream cheese icing or caramel drizzle. In addition, decorative touches like a light dusting of powdered sugar or a few mint leaves can make your cinnamon rolls look even more inviting. Finally, for more delicious recipes and decorating ideas, check out our other recipe articles on the website.
Variations and Dietary Adaptations for Cinnamon Rolls
Flavor Variations and Creative Add-Ins for Cinnamon Rolls
Firstly, once you have mastered the classic recipe, you can easily add a twist to your cinnamon rolls. For instance, mix in chopped nuts or raisins into the cinnamon-sugar filling for extra texture and flavor. Then, if you desire a richer taste, try adding a bit of orange zest or a dash of cardamom to the filling mix; these simple tweaks can create a delightful new flavor profile. Moreover, you may experiment with different types of sugars, such as using brown sugar exclusively for a deeper molasses flavor, or incorporating a bit of honey. Additionally, swirling in a bit of cream cheese into the dough before rolling can add a luscious, tangy twist that balances the sweetness perfectly.
Dietary Alternatives: Gluten-Free, Vegan, and Low-Sugar Options
Next, for those with dietary restrictions, there are plenty of ways to adapt the traditional recipe without sacrificing flavor. For example, if you need gluten-free cinnamon rolls, replace all-purpose flour with a high-quality gluten-free flour blend; this substitution works well when combined with xanthan gum. Similarly, for a vegan version, swap eggs with flax eggs and use plant-based butter; these alternatives will keep your rolls light and delicious. Furthermore, if you’re looking to reduce sugar, consider using natural sweeteners like stevia or a sugar substitute that bakes well. Also, adjust the glaze recipe by reducing the powdered sugar amount, which makes for a less sweet but equally enjoyable topping.
Finally, these variations and dietary adaptations allow you to enjoy cinnamon rolls no matter your needs or preferences. For more delicious recipes and creative twists, check out our recipe article on the website.
FAQs About Cinnamon Rolls
What is the Cinnabon Secret Ingredient?
Many bakers wonder what sets Cinnabon cinnamon rolls apart. Often, people claim that a touch of extra butter or cream in the dough is the secret. Moreover, some say that a special blend of spices creates that unique, irresistible flavor in cinnamon rolls.
Why Put Heavy Cream on Cinnamon Rolls Before Baking?
Heavy cream is used to add moisture and richness to the dough. First, it helps keep the rolls soft and tender. Next, it creates a slightly crisp top that adds extra flavor. In addition, heavy cream makes the overall taste more indulgent, which is why many recipes for cinnamon rolls include it.
What’s the Difference Between Cinnamon Buns and Cinnamon Rolls?
While cinnamon buns and cinnamon rolls share similar ingredients, the main difference lies in their shape and presentation. Typically, cinnamon buns are larger and often feature a thick layer of frosting. Conversely, cinnamon rolls are usually smaller, lighter, and emphasize the balance between the dough and the filling. Furthermore, regional variations can add subtle differences in taste and texture.
What is a Dirty Cinnamon Roll?
A dirty cinnamon roll is a decadent twist on the classic recipe. Essentially, it includes extra fillings like nuts, chocolate chips, or an even thicker glaze. As a result, these rolls are more indulgent and packed with additional layers of flavor, making every bite extra satisfying.
Expert Tips, Tricks, and Troubleshooting
Common Mistakes and How to Avoid Them in Making Cinnamon Rolls
First, many bakers overproof their dough, which can lead to overly dense cinnamon rolls. Therefore, always check your dough during the first rise to ensure it doubles in size without going too far. Next, avoid using too much flour while kneading, as this can make the dough tough and dry. Furthermore, be cautious with the cinnamon-sugar filling; too much can cause the rolls to become overly dry or even burn. Also, ensure that your oven is preheated properly, because a fluctuating temperature can ruin the texture. Lastly, remember that even small measurement errors can affect your final product, so be precise and follow the recipe carefully.
Expert Tips for the Best Cinnamon Rolls Every Time
To begin with, always use fresh ingredients. For example, fresh yeast will help your dough rise better, and quality butter can boost the flavor of your cinnamon rolls. Moreover, if you want extra-soft rolls, consider adding a bit more milk to your dough. Next, when rolling out the dough, try to maintain an even thickness so that the rolls bake uniformly. Additionally, if you notice that your rolls are browning too fast, cover them loosely with foil to prevent burning. Furthermore, allow the rolls to cool on a rack so they set perfectly and retain their softness. Finally, experiment with small tweaks—like adding a sprinkle of nutmeg or a handful of raisins—to make your cinnamon rolls uniquely yours. Happy baking, and enjoy every delicious bite!
Conclusion and Final Thoughts
Summary of Key Points
In conclusion, we have explored the art of making cinnamon rolls from start to finish. First, we discussed the key ingredients and tools needed to set the stage for perfect rolls. Next, we walked through each step of the dough preparation, from activating the yeast in warm milk to kneading the dough until it is soft and elastic. Moreover, we detailed how to roll, fill, and shape the dough to ensure every roll is packed with the right amount of cinnamon-sugar goodness. Additionally, we covered the baking process, emphasizing the importance of preheating the oven and checking the rolls as they turn golden. Furthermore, the glazing and decorating tips provided helped enhance the final presentation, making your cinnamon rolls not only tasty but also visually appealing.
Final Tips for Baking Success
To sum up, always remember that attention to detail makes a huge difference. For instance, using fresh ingredients and maintaining the right temperature are key to achieving soft, fluffy cinnamon rolls. Also, by keeping an eye on the dough during the proofing stage, you can avoid over-proofing and ensure the perfect rise. In addition, don’t hesitate to experiment with small changes, such as adjusting the amount of cinnamon or trying a new glaze, as these tweaks can make your recipe uniquely yours. Furthermore, practice makes perfect, so even if your first batch isn’t flawless, each attempt will bring you closer to your ideal result. Ultimately, these final thoughts not only wrap up our guide but also serve as a reminder that baking is both an art and a science. Happy baking, and may your kitchen always be filled with the sweet aroma of freshly baked cinnamon rolls!
Additional Resources and Next Steps
Explore More Recipes
Now that you have mastered the basics of making cinnamon rolls, why not explore further? There is a wealth of delicious recipes that can complement your baking skills. For example, you might want to try making a tangy fruit-filled pastry or a rich, creamy cheesecake. Moreover, exploring different dessert recipes can spark new ideas and help you build a versatile repertoire. If you’re looking for more baking inspiration, be sure to check out other recipe articles on our website that focus on classic treats and innovative twists alike.
Next Steps to Elevate Your Baking
Next, consider taking small steps to refine your technique. First, practice makes perfect; therefore, bake several batches to experiment with dough texture and flavor intensity. Then, try adjusting the sweetness of your glaze or even incorporate different spices to enhance your cinnamon rolls. Additionally, join online baking communities or local classes to share tips and learn from others. Furthermore, keep a baking journal where you note down what works and what doesn’t, as this will help you improve over time. Lastly, be open to trying seasonal variations—such as adding apple or pumpkin during the fall—which can bring a delightful twist to the classic recipe.
In summary, your journey with cinnamon rolls doesn’t end here. By exploring more recipes and continuously experimenting, you can take your baking skills to new heights. Happy baking, and enjoy every delicious step along the way!
For more creative baking ideas, check out our guide on

